
Well…. at this point in time, the speakable schema is still in BETA. At least this is what Googles Structured Data reference says about the Speakable. However some users want to integrate it already in their sites. So why not creating a little tutorial about it?
What is the “speakable” schema?
Technically the “speakable” is not a stand-alone schema, it’s a property that can be added to the WebPage– and Artice-Schema.
Adding such a property to the above mentioned schemas allows the Google Assistant (and probably other virtual assistants like Siri and Alexa) to read a page for you.
The content of the “speakable” property shows parts of a page that should be read. Technically it points to HTML markup where the content is located.
Step 1: How to create a speakable schema
All you need is, as mentioned above, a WebPage- or an Article-Schema. The Article schema comes shipped with SNIP. If you haven’t installed them, use the Setup Wizard!
Alternatively you can create your own Article schema the way you like it. Here is another example for an Article that you just need to import via SNIPs import functionality.
Plus: you can also create a WebPage schema to create more complex schemas as described here.
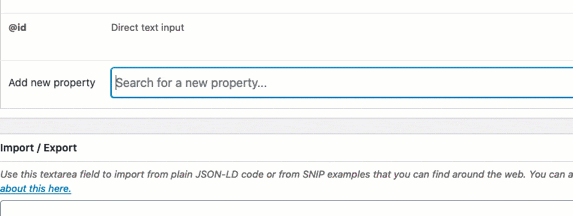
- Once you have either an Article- or a WebPage schema, add the “speakable” property to it.
- When it’s loaded, select the “SpeakableSpecification” schema from the dropdown.
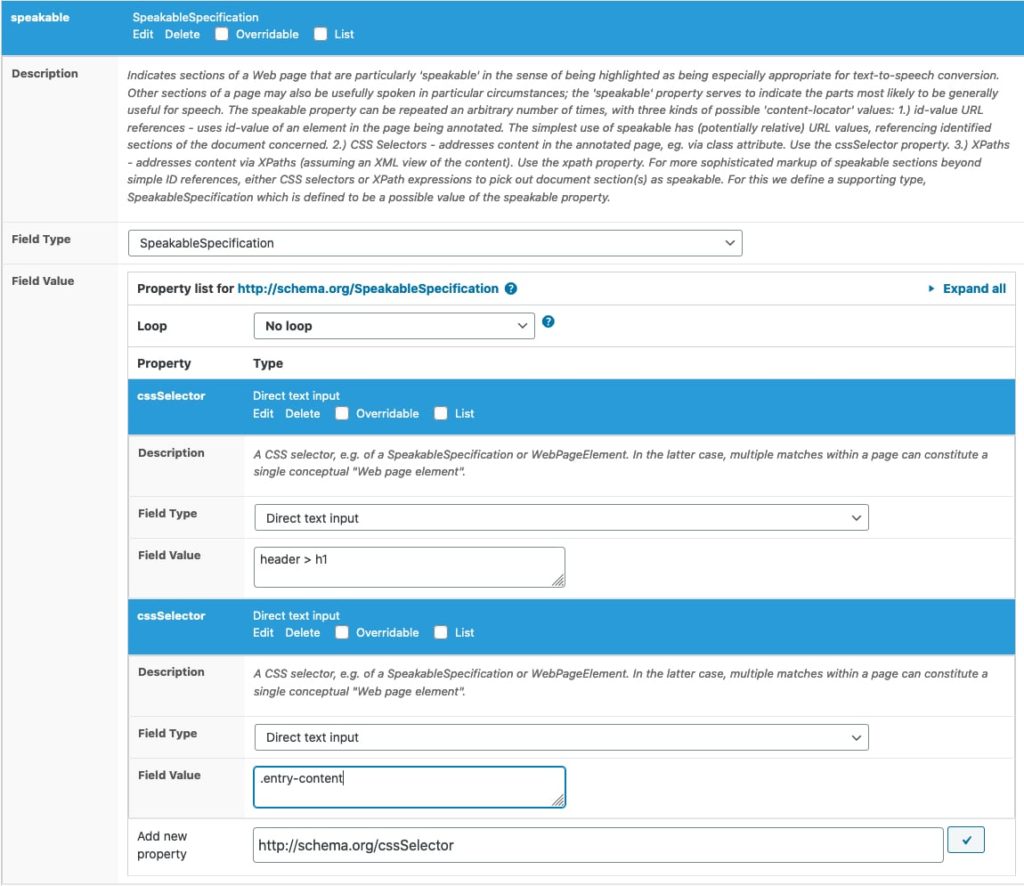
- Add the “xpath” OR the “cssSelector” sub-property to the sub-schema. In the example below I’ll use the cssSelector property as it’s easier to understand.
- Duplicate the property if you have multiple sections that should be read aloud.
- Add the names of the CSS classes (or the XPath value) to the property by using the text field.
Here is a GIF animation that shows the steps:
Step 2: How to find the CSS classes that should be read
Now this is the tricky part. Especially for those who are not familiar with HTML.
(From here I’ll use Google Chrome as the browser. The following steps might be different for other browsers.)
Get the CSS class for the title
- Open up a normal blog post (where your Article or WebPage schema has been added to).
- Select the title of your post, right click on it and click on “Inspect” (in the below screenshot you’ll see that I click on “Untersuchen” which is the German translation for “Inspect”).
- This will bring up the developer tools which points to the HTML element that you’ve just selected.
- Right-click on that HTML element and copy the CSS selector.
Use that CSS-Selector for the first cssSelector property that you’ve added in step 1.
Important: Google Chrome tends to use ID-parameters. You can recognize them because they start with a Hashtag. In the example below, I get the following: #post-2263 > header > h1. However, we don’t need any of those parameters. Therefore you should remove them together with a leading > and a trailing >. In the end you should have header > h1. In case it’s too complicated for you, ask a friendly developer to help you!
Get the css class for the content
- Now, select the first paragraph of your content.
- Do the same: right click on the paragraph and click “Inspect”.
- Now Google Chrome selects the first
<p>-Element of your content. But that is not enough. - Because we need the complete content we need to find the parent element of the currently selected
<p>-Element. Because HTML is a tree you should not have any difficulties to find the parent. You’ll see below how I select the parent. - Paste the path into your schema property. But also follow the important hint from above.
Past the css classes
If you have pasted the css classes correctly, your speakable sub-snippet should look like this:
Done!
Final notes
It’s important that you get the right CSS classes. If you only get a single div it might be wrong. It’s better to ask a developer for this tricky task if you’re not familiar with HTML at all. Just to make sure that you don’t do anything wrong.
Note that you need to re-adjust the CSS class names once if you’ve selected a new theme. This is because every theme author uses own class names.